
How To Tuesday
Have you ever tried your hand at needle felting wool?
At Swan Bay Farm we have 10 sheep and my husband strongly suggests that if the sheep don't pay for themselves that we probably should not have them. I love sheep and I can't imagine living anywhere that I could not have them. So I took on the challenge and use the wool from the sheep to spin, dye, weave, knit, water and needle felt. I sell kits, teach classes, and sell woolen things at craft shows. We sell kits at our Etsy shop and also give classes in needle felting. I know my sheep would appreciate it if you checked it out.
Here is a project that I just finished that is great for beginning felters.
Needle Felted Snowmen (and SnowLadies)
you will need:
a felting needle
about 2 yards of white wool roving
a foam pad for your work surface
small amounts of dyed wool for hats and other accesories
small black hatpins or map tacks or black wool for the eyes
(our snowman kits come with everything you need to make two 4" snowmen).


A scarf can be made by taking a small bit of roving and felting it into fabric and wrappping it around the neck of the snowperson. I just want to warn you that needle felting can become very addicting as there are so many additions and embelishments you can add to your snow person. Use your imagination, add twig or wire arms, a broom, a sled, or what ever you can think of. You can keep snowmen out as a decoration at least into the month of March.


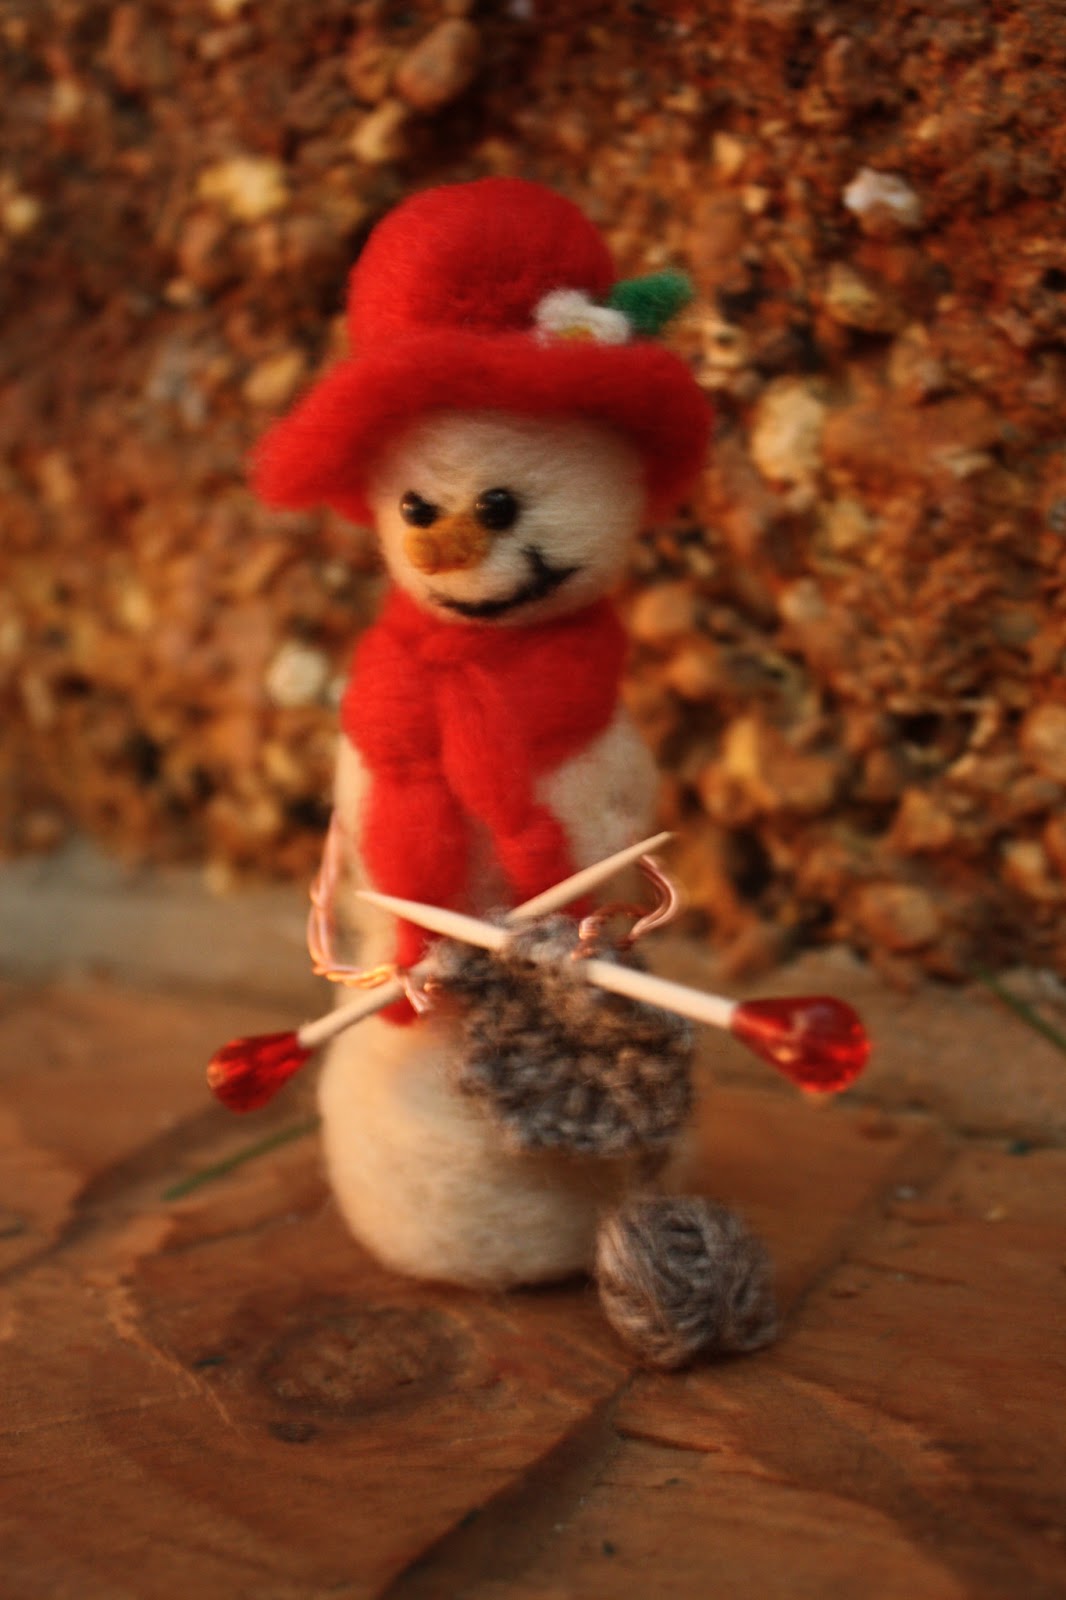

Here you will see that I made arms for one snowperson out of copper wire and then made knitting needles out of toothpicks and beads. The purple hatted snowperson is carrying a snow baby.
And don't forget to leave a comment before this Friday for a chance to win our giveaway (antler basket, jam, felted owl, an illustration from the Psalms, and a CD with original music) Here's the basket I made as part of the giveaway. Good luck!

No comments:
Post a Comment