In my former life as an elementary school art teacher, the first week back from Christmas break was Snowflake Week. Everyone was in high gear to take down the Christmas decorations in the hall and quickly replace them with winter-themed wonderment. My first year teaching, I made the typical paper snowflake craft with everyone (K-6th). They all came out wonderfully and kids really loved unfolding and "ohhing" and "ahhing" when they saw their own creations. However, by June, I was
still finding these little guys EVERYWHERE, so the next year I developed a plan to end the perpetual snow scrap fest for EVER!
 |
| *grumble*grumble* |
Before I tell you the
paper snowflakes + secret trick = clean floors equation... here are four snowflakes projects you can make with your littles depending how how patient you want to be/their skill level.
Molly, my three year old, is just starting the snipping stage of using scissors, but if I let her try her hand at paper snowflakes, her 18 month sister would want to use scissors too. So to avoid the meltdown that ensues when one wants what the other one has, I opted for my go-to toddler-friendly craft plan:
put things on things.
 |
| Step 1: Glue 3 popsicle sticks together and let dry. |
|
|
|
 |
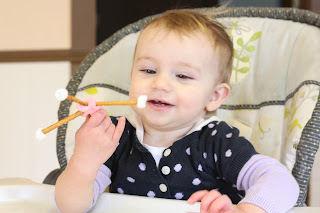
| While waiting for aforementioned popsicle sticks to dry, we made some "edible snowflakes." In a perfect world, I would have planned to have big marshmallows for the center and made them six-sided (sorry, Robin) but for a quick snack/distraction from undried gluey things, these did the trick. |
 |
| Step 2: Paint the snowflakes white. |
 |
| **Pro-tip: Add a tiny bit of dishwashing soap and water to acrylic paint for easy-peasy clean-up of hands and brushes.** |
 |
| Step 3: Glue things on! I made the glue dots, they put the pieces on. We used jewels and sequins, because my princesses like all things sparkly, but you could use buttons, pom poms, beads, anything that is small. |
| | | |
|
|
Use caution when using small art supplies with your toddler. If they tend to put things in their mouth, you can keep their mouth busy with a pacifier, (I know, I know... bad mom award...my 18 month old still has a binky) or they can munch on a snack of cereal while they work.
 |
| Step 4: Add glitter glue. We have a strict "no glitter" policy in my house. (There has to be a level of messy tolerance at some point.) but we love using glitter glue!!! |
 | | |
Crayola makes this little "Pip Squeaks" set that I love.
 |
| Step 5: Tie a simple slip knot with any kind of string. (I used embroidery floss, but anything will work.) |
|
|
|
|
|
|
|
|
 |
| Step 6: Hang and enjoy! |
If you want to try your hand at the paper snow flake variety, here are some tips that make life easier:
- Start with a circle. If you start with a square, no matter how much you trim, they come out looking "squarey". Trace circles onto paper first, then cut out. (This project is so good for developing tracing skills. In the world of Cricuts and pre-cut shapes, kids don't trace/cut out nearly as much as we did when we were kids.)
- Try different sizes of circles. Raid the kitchen cabinets for tupperware lids, cups, and pots.
- Fold circles in half, and then into thirds to make 6-sided snowflakes. DO NOT fold them in half 3 times. (This gives you 8-sided snowflakes, which do not exist and is one of my biggest pet-peeves. *sorry*)
- Computer paper works just fine, but if your child finds it hard to cut through paper, try using coffee filters.
- If you don't like the way your snowflake comes out when you unfold it, there are no "snowflake police" that say you can't refold and remove more paper. (Try to have more negative space than positive space to have lacier snowflakes.)
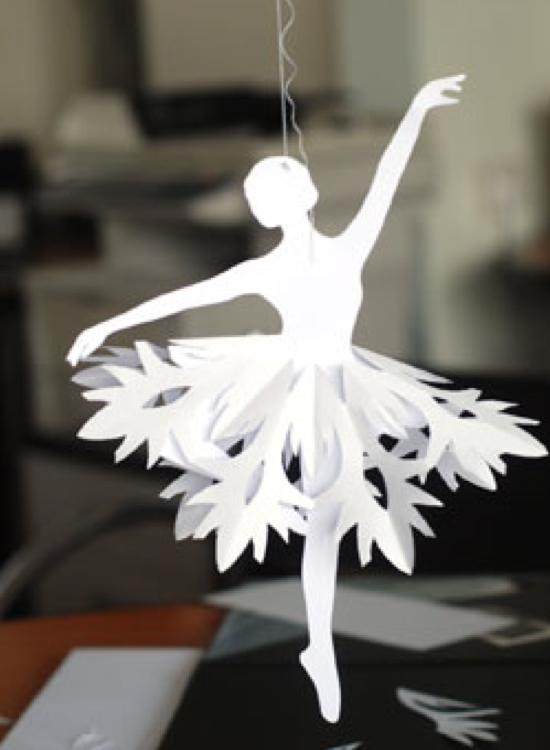
To make this project a little fancier, I found this on Pinterest. *Swoon*
And, if you've done any sort of search on Pinterest for paper snowflakes, I'm sure you've come across these little gems:
 |
| Source: Paper Zone Blog |
Despite how intricate they look, they are quite easy to make and give a huge impact hanging in a hall or window. There are great directions and a video with step by step instructions
here.
And now.... drum roll please....
How to keep your floors scrap-free after the paper snowflake making frenzy.......
1. Instruct students/kids that they will be making two things in addition to their snowflakes.
 |
| Flurries (scraps cut away from snowflakes.) |
 |
| Snow balls (paper left over from cut-out circles and then "balled up") |
2. Tell them that there will be a contest to see who can collect the most flurries. (Give them a bowl/tray to collect them in.) Kids will be under the tables on their hands and knees to get every last scrap when you tell them its time to clean up... its like a winter miracle.
3. At the end of class, declare them all winners.
4. Their reward for being excellent "flurry catchers" is a 30 second snow-ball fight. (All snowballs must be thrown into trash cans when you declare the snowball fight over.)
Hope you are inspired to make some snowflakes with your littles this weekend! We would love to hear which projects you tried and how they turned out. Leave us some comment love! We would love to hear from you! :o)
P.S. Tomorrow (Saturday at 9:00 AM), we're going to have an announcement about the
giveaway...so please check back soon!
P.P.S. And join us on Monday for more inspirations, how-to's, recipies, and reflections on our next theme: BUNDLE UP!


This is awesome, very hands-on :) -Eliana
ReplyDelete